
I have since moved on to building houses, because when learning new things, I like to start with the familiar so I can learn technique and process.And there is a LOT of technique and process in building. Much more than I ever thought. When other people say they took years to learn how to build in Second Life, I absolutely believe them now. There are a few ways to build and I believe I covered the very basic of basics in another post here, so I won't go into all that again...but for one thing, in world building starts with primitive building blocks in different shapes and just gets more complex from there.
A house is basically a box to start with. It gets more complex than that...but straight lines and basic shapes are as good a starting point as any. So that is where I started....
 |
| I built |
 |
| And Built |
 |
| And Built some more |
 |
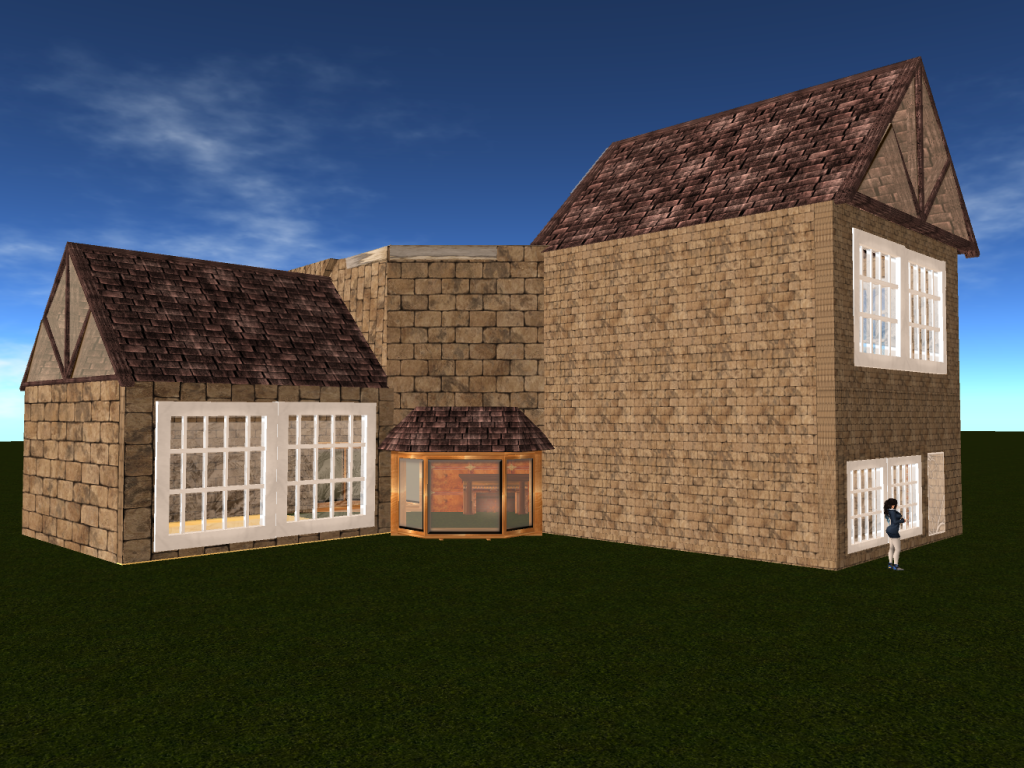
| And now I am here... |
 |
| And here |
What have I learnt through all of this?
1. Building a basic structure takes time and patience in a 3D world. You have to be willing to sit and play around with the shapes, torture the prims a little, and if you are like me, spend a REALLY long time just trying to line things up.
2. Putting a texture on something seems like it is going to be easy. Until you realise your wall is not just made up of one block and each block needs texturing individually and each block is a different size so the texture will look different on each one and the block has multiple faces and...uggggghhhhhhhhhhhhhhhelpme.
Also, a texture is not just a texture. A texture can come in MULTIPLE sizes. What on earth FOR I hear you ask. Ummm...welllll....<cough> So they come in different sizes and people seem to recommend a 512 x 512 pixel size texture for most building requirements. Great. If you want something with a high level of detail that people are gonna examine all up and dirty and in its face, you might use a 1024 x 1024 pixel texture...BUT you pay for that in lag. It takes longer for that texture to load in to your view screen because your computer has to render in a MUCH higher pixel population than it otherwise would have. So if you have a big area with lots of things on it with high resolution textures it is going to take MUCH longer for your computer to process all that and render it in and for you to see it.
Then there are "seamless" textures. Ones that you can put on a large length of wall without seeing the "seam" where the texture repeats itself. Think of it like wallpaper. The joins at the edges of the wallpaper are like the seams in the texture and when you are trying to make something a bit realistic, you don't want to break the viewer's immersions by having obviously repeated textures. Real life is a bit more random than that. I watched a great video by Zef Brodie on making seamless textures and I will leave the link in the references in case you want to watch it or create your own.
 |
| First attempt at retexturing using shadow maps |
3. Linking things together is NOT THE SAME AS LOCKING IT INTO PLACE, Don't make me
Also, another thing about linking is to do with Land Impact. Land Impact is the "weighted" measurement of the download on the server and it is a BIG DEAL for everyone in world. It is covered by three figures:
Download weight which describes how much bandwidth is required to view the object;
Server weight which measure the impact of the object on Linden Lab's servers; and
Physics weight which is the complexity of the physical shape of the object.
EVERYTHING in the world has a land impact and any piece of land has a limit to the amount of impact it can handle so you are limited as to what you can put ON that land by the LI budget it has.
Still following? Not fallen asleep yet? EXCELLENT! Now, you can change the Land Impact of objects by linking different types of objects together. there is a FANTASTIC article about how linking prims to mesh can swallow up the land impact of the item and how and because I am quite lazy and this post has gone on for a really long time, I am going to just shove the link down below and let you read it at your leisure.
However, just as a word of caution, there are some things you CAN'T link, for instance some things that are scripted should not be linked as it affects the way a script works. Doors are the best example. you could cause a whole side of the house to move, instead of just the door. Some other things can't be linked because when you do, it sends the LI up rather than down. And some things you just don't want to link because you might want to move them around often and its just a pain to unlink them from a build and relink them back in again. Landscaping is a prime example I can think of. Some gardens can have multiple bits and as soon as you link them to a build, to take them out again, you have to find and unlink EVERY little bit. It is a fiddly and annoying process. I just link up the house "Shell" (minus scripted things like doors) and maybe some of the more permanent furniture and work on the landscaping as a separate link set.
So that is my summary of some of the things I have learned in the past 5 months of building in Second Life. There is still more to add to it all but I will leave that to another post. I have barely even touched the surface of what I need to know to get where I am going with it. I understand how people get frustrated with the process and find it difficult to learn and understand. It is only through sheer ridiculous amounts of stubbornness that I get through some days. But when things work...well...
Land Impact
Second Life English Knowledge Base: Calculating Land Impact
https://community.secondlife.com/t5/English-Knowledge-Base/Calculating-land-impact/ta-p/974163
The Secrets of Mesh Land Impact - Loki - Digital Mischief Maker
http://www.lokieliot.com/blog/?p=1193
Gwyn's Home - Prim-to-Mesh Done just right
https://gwynethllewelyn.net/2013/08/20/prim-to-mesh-done-just-right/
Chey's Second LIfe Blog: Freeing Up the Prims
http://cheyennepal.blogspot.com.au/2014/06/freeing-up-prims.html
Second Life Forums: Mesh and Land Impact
https://community.secondlife.com/t5/Mesh/Mesh-land-impact/td-p/1967609
Leaf Illusion A Simple Way to Reduce Your Second Life Land Impact by up to 50%
http://www.leafillusion.com/2016/04/a-simple-way-to-reduce-your-second-life.html
Blender for beginners
Youtube Tutorial Playlist - Haven Ditko - Blender for Beginners
https://www.youtube.com/playlist?list=PLUnVz3XImhaENk_UuARzVPZUq4jUdG_B_
Youtube Tutorial Playlist - Jacob Lewis- Blender Absolute Beginner Series
https://www.youtube.com/playlist?list=PLrgQj91MOVfjTShOMRY8TLmkJ7OFr7bj6
Youtube Tutorial Playlist - Taconene - Blender Beginners House Modelling
https://www.youtube.com/playlist?list=PLr-bkFUdR2cf8nBBkBfhMB6Vbw_ezHTZ4&disable_polymer=true
Texturing
Texture Tools - Second Life Wiki
http://wiki.secondlife.com/wiki/Texture_Tools
YouTube Tutorial - Zef Brodie - Meli Imako Mesh Kit Texturing
https://www.youtube.com/watch?v=JKWUoNQapIM
YouTube Tutorial - Zef Brodie - Simple Gimp Tutorial for Retexturing Mesh Clothing Kits in SL (part 1)
https://www.youtube.com/watch?v=tcxv8EEQnP8
YouTube Tutorial - Zef Brodie - Simple Gimp Tutorial for Retexturing Mesh Clothing Kits in SL (part 2)
https://www.youtube.com/watch?v=q6od41Id1xU
Youtube Tutorial - Zef Brodie - Tile Seamless Textures in Photoshop Tutorial for Use in SecondLife
https://www.youtube.com/watch?v=qOMhvLQG9o4
Cutting down the lag in builds
Penny Patton - The Digital Pasture - Building a Better Second Life
http://pennycow.blogspot.com.au/2013/06/building-better-second-life.html
No comments:
Post a Comment